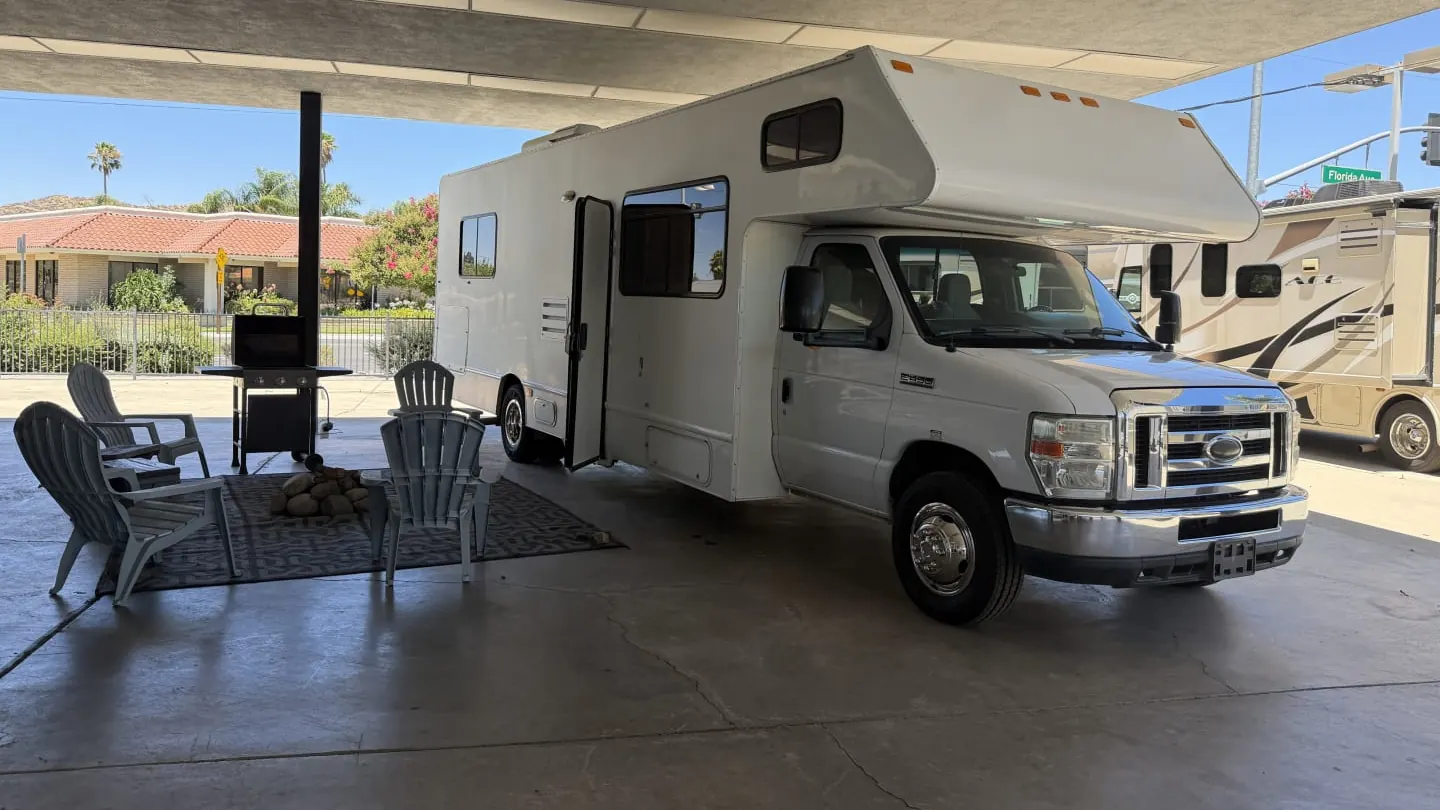
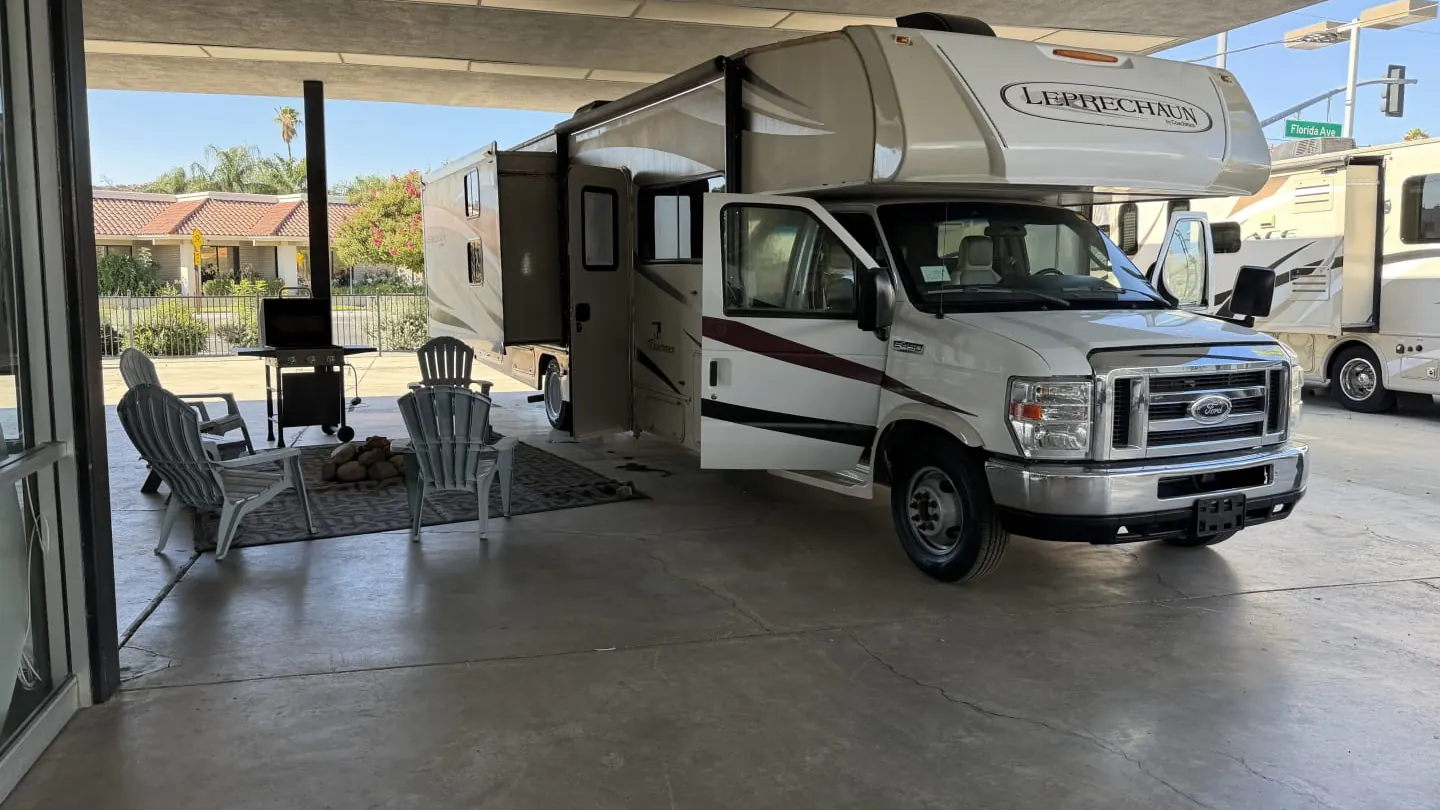
The Pickup and Return Walk-Around: A Photo Checklist
When a renter says the damage was already there, the walk-around photos are your only evidence. Shoot the same route every time, wide shots then close-ups, exterior, roof, interior and readings, and attach every photo to the booking.
By the RV Shop Desk team · · 6 min read
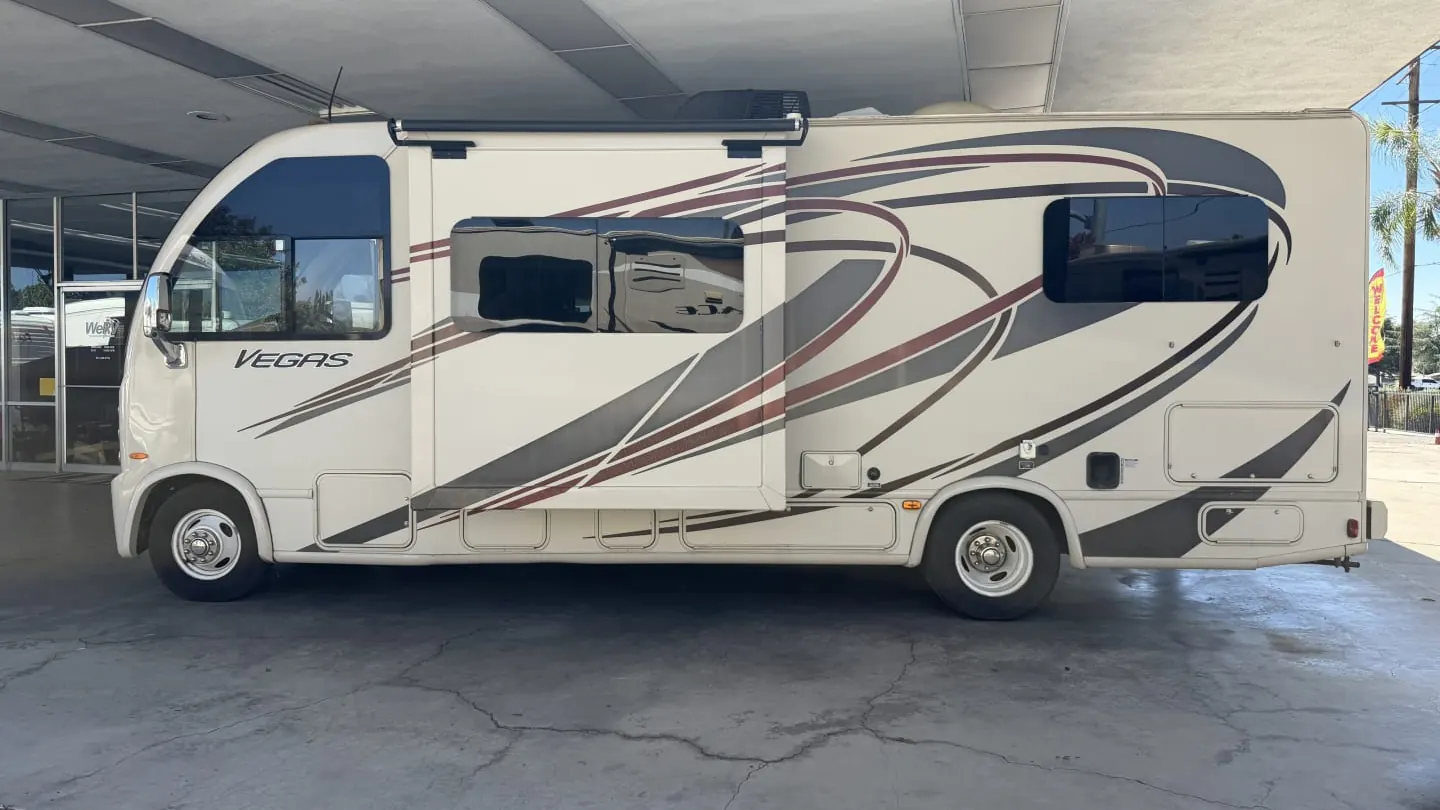
A renter returns your unit with a gouge in the rear cap. Only one thing settles who did it, and that is a clear, timestamped photo of that rear cap from pickup day. Not a memory. Not "I'm pretty sure it was fine." A photo. The walk-around is the least glamorous part of running a rental fleet and the one that saves you the most money. This guide gives you a full shot list, the order to take it in, and the habits that turn a pile of phone pictures into evidence that holds up.
Why the order matters
The most common walk-around failure is not missed damage. It is inconsistency. One day your team member starts at the front, the next day at the door, and some days the roof gets skipped because it is raining. When a claim comes up, you cannot find the pickup photo that matches the return photo.
Pick one route around the unit and never change it. A common pattern starts at the driver's front corner and goes clockwise around the outside. Then comes the roof, then the interior front to back, then the readings. Whatever you pick, write it down, laminate it and hang it where you do pickups. Everyone who hands over keys follows the same path.
The exterior shot list
Take a wide shot first, then close-ups. The wide shot shows where on the unit each close-up belongs, and that matters when you compare photos later.
Front
- Full front, straight on, from far enough back to include the whole cap or cab
- Windshield, close enough to see chips (shoot at an angle so reflections do not hide them)
- Front bumper and grille, low angle
- Both headlights and fog lights
- Front cap or cab-over, especially the leading edge where low branches hit
Driver side
- Full side, wide
- Mirror and mirror arm
- Front tire and wheel, showing sidewall and tread
- Each compartment door, closed
- Slide-out boxes, retracted, including the bottom edges
- Awning, rolled, including the arms and end caps
- Rear tires and wheels, both duals if equipped
- Lower skirt and wheel well lips
Rear
- Full rear, straight on
- Both rear corners, at an angle (a spot rental RVs hit often)
- Rear bumper, hitch receiver and ladder
- Taillights
- Any rack, bike carrier or spare tire
Passenger side
- Full side, wide
- Entry door, open and closed, plus the entry step extended
- Patio awning, rolled, with arms and end caps
- Utility bay: sewer hose, fresh water connection, shore power cord and adapters
- Generator compartment
- Propane tank or compartment
- Remaining compartment doors, slide boxes, tires and skirt, same as the driver side
Roof
Many owners skip the roof, and many roof claims are the expensive ones. Think of a crushed air conditioner shroud, a broken vent cover or a torn membrane from a low bridge or branch. You may have a safe way to see the roof, such as a ladder rated for the job, a fixed platform or a pole-mounted camera from the ground. If so, photograph each vent, each AC shroud, the front and rear roof edges and any solar panels. Never have staff climb onto a roof that is not rated for walking. A pole camera is safer and faster.
For the rear corners and front cap, take each close-up twice. Shoot once in normal light and once with your phone's flashlight raking across the surface from the side. Side light shows scuffs and hairline cracks that flat light hides.
The interior shot list
Interior claims are usually smaller but more frequent. Think of a burned countertop, a torn screen, a broken blind or a stained cushion. Go front to back.
- Cab: dash, both seats, steering wheel, visors, any screens
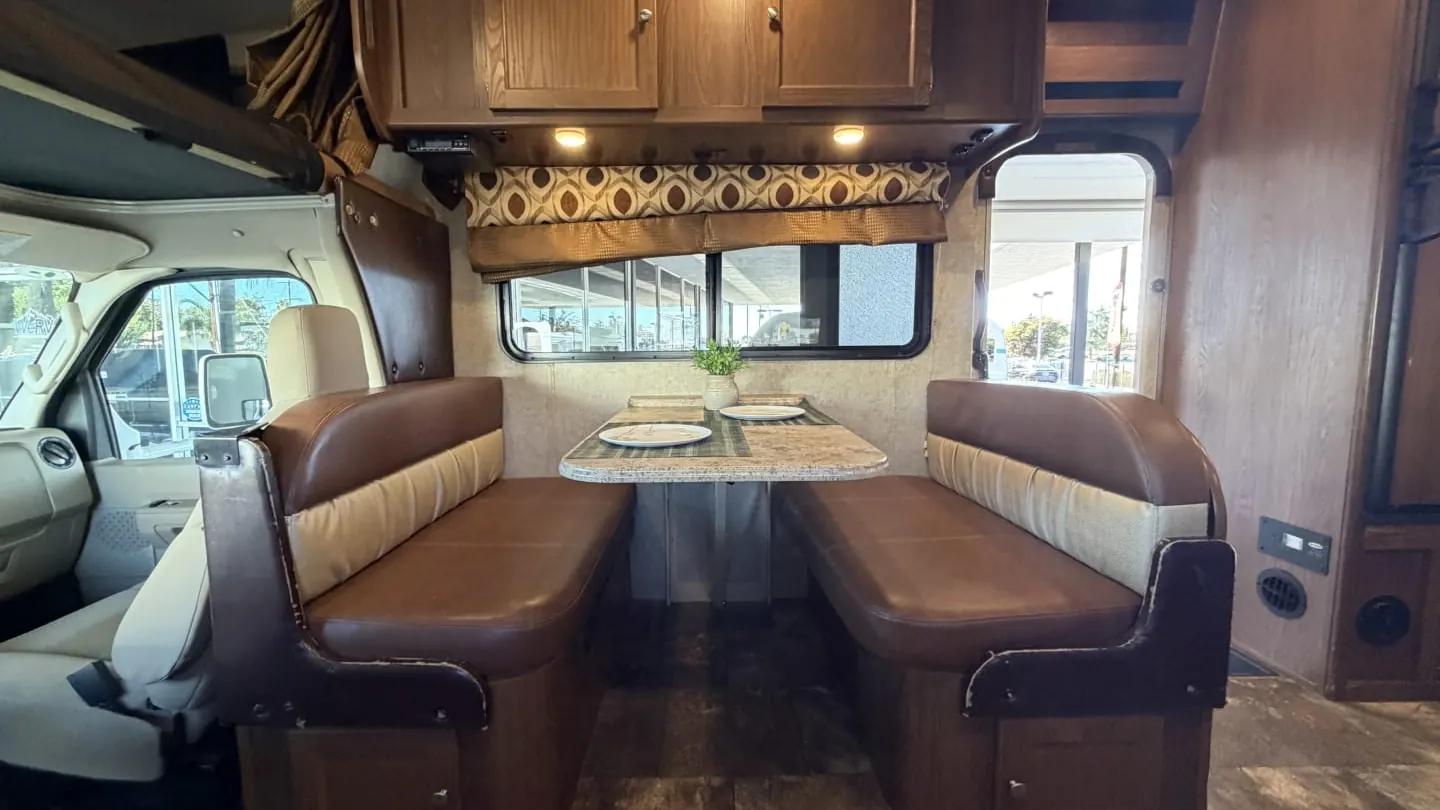
- Living area: each seat and cushion, dinette table, flooring, walls, window blinds and screens
- Kitchen: countertops, stove top, sink, microwave, fridge interior (open), each cabinet if you supply a kitchen kit
- Bathroom: toilet, shower pan and door, sink, mirror, vent fan
- Bedroom: mattress (sheets off, if you provide separate linens), walls, closet doors, blinds
- Ceiling: every vent and ceiling panel, looking for water stains that suggest a leak
- Inventory: one shot of each supplied kit laid out (kitchen kit, hose kit, chocks, cords), so you can see what came back
The readings
These photos decide most of your fee disputes, so take them every time without exception.
| Reading | What to capture | Why it matters |
|---|---|---|
| Odometer | Dash with the ignition on, full number readable | Mileage charges |
| Generator hours | Hour meter on the generator or control panel | Generator usage charges |
| Fuel | Gauge with the ignition on | Refill charge |
| Propane | Gauge or tank indicator | Refill charge |
| Tank monitor | Fresh, gray and black levels on the panel | Dump fee |
| Dash warnings | Any warning lights showing | Proves mechanical condition at handoff |
| Tire pressure | Monitor screen or gauge readings, if you record them | Safety and blowout disputes |
RV tank monitors are known for bad readings. Treat that photo as a record of what the panel showed, not proof of what the tank holds. At return, a quick check at the dump station settles it. Your rental agreement should tie each reading to its fee, so the photo, the rule and the charge all line up.
Habits that make photos hold up
- Timestamps on. Use a method that records the date and time of each photo in a way you can show later. Photos pulled from a personal camera roll with no context are weaker.
- Attach them to the booking. A photo only helps if you can find it in 30 seconds. File by unit and booking, not by the phone that took it. That is the whole game.
- Clean the lens and the unit. A dirty unit hides damage. Inspect after the wash, not before. That is one reason the turnover checklist puts the wash ahead of the pickup walk-around.
- Mark existing damage. Log every known scratch and dent with a close-up and a note, then carry that log forward from trip to trip. You do not want to bill a renter for the scratch from last June.
- Same light when you can. Do pickups and returns in the same spot at similar times of day. Side-by-side comparisons get much easier.
- Renter sign-off. Have the renter confirm the photos at pickup. Give them a short window, say an hour, to report anything you missed.
Doing it with the renter
The walk-around goes faster and heads off more disputes when the renter walks it with you. It also doubles as the first part of your renter orientation. As you photograph the awning, explain that it must come in when the wind picks up. As you photograph the slides, explain that they must be in before driving. You build evidence and teach at the same time.
At return, walk the same route in the same order with the renter. If you find something new, show them the pickup photo on your phone next to what you are looking at. Most people accept what they can see. Then follow the process in handling deposits and damage claims so the itemized statement goes out quickly.
How long it should take
For example, a trained person can usually photograph a mid-size motorhome in 15 to 20 minutes once the route is second nature. The first few times take longer, so build walk-around practice into training when you hire your first crew. If your pickups keep running long, skipping shots is not the fix. The fix is usually a written route and a slot on the booking calendar with enough time. The shot you skip is the one you need.
Common mistakes
- Only photographing damage. You need proof of good condition too, especially on the corners and roof.
- Close-ups without a wide shot. A close-up of a scratch is useless if you cannot prove which panel it is on.
- Skipping the return walk-around when the renter is in a hurry. Tell them it takes 15 minutes and the agreement requires it. It protects them too.
- Letting the cleaning crew in first. Inspect, then clean. Cleaning can remove evidence of smoking, pets or misuse.
- Photos on personal phones only. When that employee leaves, so does your evidence.
If you want the photos stored on the booking automatically, RV Shop Desk's rental software takes walk-around photos in the app, keeps pickup and return sets with the booking, and lets you bill damage from those photos.
Make the walk-around the backbone of your operation
A steady walk-around makes almost every other part of the business easier. Claims go quicker, turnovers catch problems earlier, and your maintenance log gets real data on what is breaking. Say the return photos show the same awning arm bending on the same unit three trips in a row. That goes into your preventive maintenance schedule and your orientation script. Pair this checklist with a fair damage claim process, and you will spend far less time arguing and far more time renting.
Questions owners ask
How many photos should an RV walk-around inspection have?
Enough to show every exterior panel, the roof edges, each interior room and all the meter readings. For most units that means dozens of photos. Doing it the same way every time matters more than the exact count.
Should the renter be present for the RV walk-around?
Yes, at both pickup and return whenever you can. When the renter watches you document the unit and confirms the photos, damage talks are shorter and disputes are less common.
Is video better than photos for an RV inspection?
Video is a useful backup, but still photos are easier to compare side by side and to attach to a damage invoice. Many owners take a set of stills and add a short walk-around video.
- What Belongs in an RV Rental Agreement
- Security Deposits and Damage Claims Without the Fights
- Turning Over an RV Between Renters: Cleaning and Systems Checklist
- The 30-Minute Renter Orientation That Prevents 2 a.m. Calls
- When a Rental RV Breaks Down Mid-Trip: A Playbook
- Running the Booking Calendar: Buffers, Minimum Nights and Holds