Turning Over an RV Between Renters: Cleaning and Systems Checklist
An RV turnover runs in six phases. Inspect the return first, dump the tanks, clean top to bottom, test every system, restock, then wash and sign off. Done in that order, it catches a failing pump or soft tire before the next renter finds it.
By the RV Shop Desk team · · 6 min read
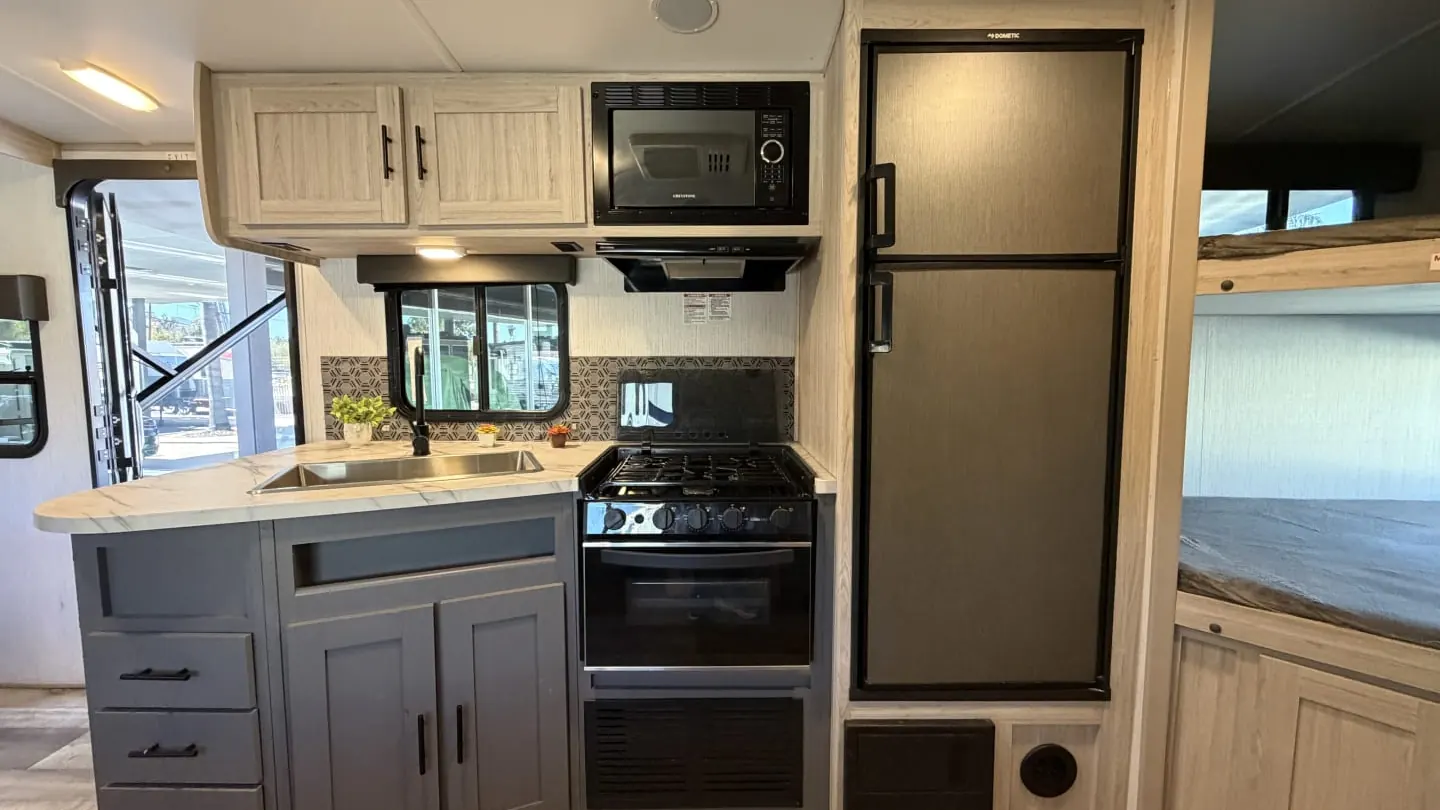
Renters judge your business in the first few minutes inside the unit. A hair in the shower or a sticky fridge handle costs you a star. A water pump that fails on the second night costs you a lot more. You pay for a refund, a rushed repair and a bad review. The turnover is where you prevent both. The trick is doing it in the right order with a written checklist, so nothing depends on who happened to work that day.
This guide lays out a turnover in six phases. Adjust the details to your units, then print your version and make every turnover follow it.
Phase 1: Return inspection before anything else
Nobody cleans until the return walk-around is done. Cleaning wipes out evidence like pet hair, smoke smell, sand in the slide seals or sticky residue on the dash. Walk the unit on the same route you used at pickup. Take the return photos and readings, and compare them to the pickup set. The shot list is in the pickup and return walk-around checklist.
Anything that looks like damage gets a close-up photo, a note on the booking and a flag for the owner or manager. From there it follows your deposit and damage claim process. Anything that looks like a mechanical problem gets flagged for phase 4.
Also ask the renter one question at return. "Did anything not work right, or feel off?" Renters often mention small problems in passing (a slow drain, a generator that hunted, a slide that hesitated) that they would never bother to report. Write down what they say.
Phase 2: Tanks and the dirty work
Do the messy jobs first, while you are still in work clothes and before the interior is clean.
- Dump the black tank, then the gray tank, in that order.
- Flush the black tank with the built-in flush or a wand until it runs clear.
- Add tank treatment and a few gallons of water to the black tank.
- Check that the tank monitor reads empty after dumping. If it does not, the sensors may be fouled, so note it.
- Inspect and rinse the sewer hose, check it for cracks, and stow it with caps on.
- Empty the trash, including the cab and every bin, and remove anything the renter left.
- Bag and log left-behind items with the booking and date.
Keep separate gloves, buckets and cloths for the tanks and the bathroom, and never let them into the kitchen. Color-code them so a new crew member cannot mix them up.
Phase 3: Clean, top to bottom, back to front
Work top to bottom so dust falls onto surfaces you have not cleaned yet. Work back to front so you end at the door without walking over clean floors.
Bedroom
- Strip bedding and bag it for laundry
- Check the mattress and mattress protector for stains
- Wipe walls, headboard, shelves and inside closets and drawers
- Clean window blinds and check the screens
Bathroom
- Clean and disinfect toilet, sink, shower pan, shower walls and door
- Clear hair from the shower drain and check it drains fast
- Clean the mirror and the vent fan cover
- Restock toilet paper (RV-safe only) and any supplies you provide
Kitchen
- Empty and wipe the fridge and freezer, leave the doors propped if the unit will sit
- Clean the stove top, oven, microwave and range hood filter
- Run every dish in the kitchen kit through a wash, and count the kit against your inventory list
- Wipe every cabinet and drawer, inside and out
Living area and cab
- Vacuum upholstery, under cushions and between the seat and slide walls
- Wipe the dinette, walls and all handles, switches and remotes
- Clean the dash, steering wheel, door handles and cup holders
- Clean the inside of the windshield and all windows
- Vacuum and mop the floors last, working toward the door
Odor check
Close the unit up for ten minutes, then walk back in and smell it. That is what the next renter notices first. Smoke or pet odor that survives cleaning needs a specific treatment. If the agreement bans smoking or pets, it also needs a photo and a note on the booking.
Phase 4: Systems check
This phase prevents the 2 a.m. phone calls, and it is the one crews rush most. Test every system as if you were the renter on night one.
| System | Check |
|---|---|
| Fresh water | Fill the tank, run the pump, open every faucet hot and cold, check for leaks under sinks and at the pump, check the water heater lights on both gas and electric if equipped |
| Power | On shore power: outlets, converter charging, microwave, AC. Off shore power: lights, pump and fans on battery. Check battery charge and terminals. |
| Generator | Start it, run it under load (AC on) for several minutes, check oil level, log hours |
| Propane | Refill or swap tanks, check the detector, light the stove, furnace and fridge on gas, sniff for leaks |
| Climate | Run each AC unit and the furnace, clean or check AC filters |
| Slides and awnings | Run each slide out and in, check seals and toppers, extend and retract each awning |
| Safety | Test smoke, carbon monoxide and propane detectors. Check the fire extinguisher gauge and date. |
| Entry | Door locks, entry step, grab handle, all keys and remotes accounted for |
Motorized units also need a chassis check. Check tire pressures cold, with a visual check of sidewalls and tread. Then check engine oil, coolant, washer fluid, lights and turn signals, wipers and any dash warnings. For towables, check the tires, hitch parts, breakaway cable, safety chains and running lights.
Anything that fails goes on a work order. The unit does not go out until it is fixed, or until you make a documented call that it is safe and tell the renter. Repeat findings belong in your preventive maintenance schedule. If a repair is beyond your crew, use the approach in running an RV repair business (clear quote, photos, approval). It works just as well when you are the customer of your own shop.
Phase 5: Restock and stage
- Fresh bedding and towels, if you provide them, made up or folded and bagged
- Kitchen kit complete and counted
- Hose kit: sewer hose, fresh water hose, pressure regulator, water filter if supplied
- Power: shore cord and the adapters you supply
- Leveling blocks and chocks
- Consumables: toilet paper, tank treatment, dish soap, paper towels, trash bags
- Fuel and propane topped off to the level stated in your agreement
- Fresh water tank filled or left partly full, per your practice
- Printed quick-start guide and emergency number in the same spot every time
- Any add-ons the next renter booked (bike rack, camp chairs, grill)
Phase 6: Wash and sign-off
Wash the exterior, including the roof edges and the rear cap where road grime collects. Wash before the next pickup walk-around, not after, because a dirty unit hides damage in the photos.
The last step is a sign-off, ideally by someone other than the person who did the turnover. Fresh eyes catch the missed hair in the shower. The sign-off confirms each phase is done, records the readings and notes any open items. Take a few "ready" photos of the interior. If a renter later complains about cleanliness, those photos are your answer.
Scheduling turnovers so they do not get rushed
Most turnover mistakes happen when the crew is squeezed. Say returns are due by 11 a.m. and pickups start at 3 p.m. A mid-size motorhome that comes back late and dirty can eat that whole window. Block turnover time on the calendar as real time, not leftover time. Setting buffers and minimum nights on the booking calendar covers how to protect that window. On busy weekends, stagger return times so your crew is not turning three units at once.
Staffing matters too. Many small fleets pay turnover staff by the unit instead of by the hour. Others do the reverse so the crew does not rush. Either way, check with your accountant on how to classify and pay crew. Hiring your first crew and running payroll covers the setup.
Tracking turnovers in software shows you which units take longest and which checks keep failing. RV Shop Desk's rental software includes turnovers alongside bookings and walk-around photos, so the checklist and the evidence live with the unit.
Every turnover is a handoff to the next renter
A good turnover protects three things at once. It keeps your evidence from the last trip, your reviews on the next one, and the mechanical health of the unit. Get the order right. Inspect first, test last, and never let the calendar squeeze the systems check. The unit you hand over should match the condition your rental agreement describes. The renter should also get a solid orientation before they leave the lot, so the systems you just tested keep working.
Questions owners ask
How long does it take to turn over a rental RV?
It depends on the unit size and how it came back. A thorough turnover of a mid-size motorhome often takes one person several hours. Block enough time on your calendar so the crew never has to rush the systems checks.
Should I sanitize the fresh water tank between every rental?
Many owners sanitize on a set schedule and whenever a unit sits unused for a while, not after every trip. They drain and refill as needed. Follow the manufacturer's guidance and your local health rules for your setup.
What should an RV turnover checklist include besides cleaning?
Return inspection, dumping and flushing tanks, testing every system (water, power, propane appliances, slides, awnings, generator), checking tires and fluids, restocking supplies, and a final photo sign-off.
- What Belongs in an RV Rental Agreement
- Security Deposits and Damage Claims Without the Fights
- The Pickup and Return Walk-Around: A Photo Checklist
- The 30-Minute Renter Orientation That Prevents 2 a.m. Calls
- When a Rental RV Breaks Down Mid-Trip: A Playbook
- Running the Booking Calendar: Buffers, Minimum Nights and Holds