The 30-Minute Renter Orientation That Prevents 2 a.m. Calls
Most late-night renter calls are about things you could have shown them at pickup. Run a hands-on, 30-minute orientation that covers power, water, tanks, propane, slides and driving, and ends with how to reach you.
By the RV Shop Desk team · · 7 min read
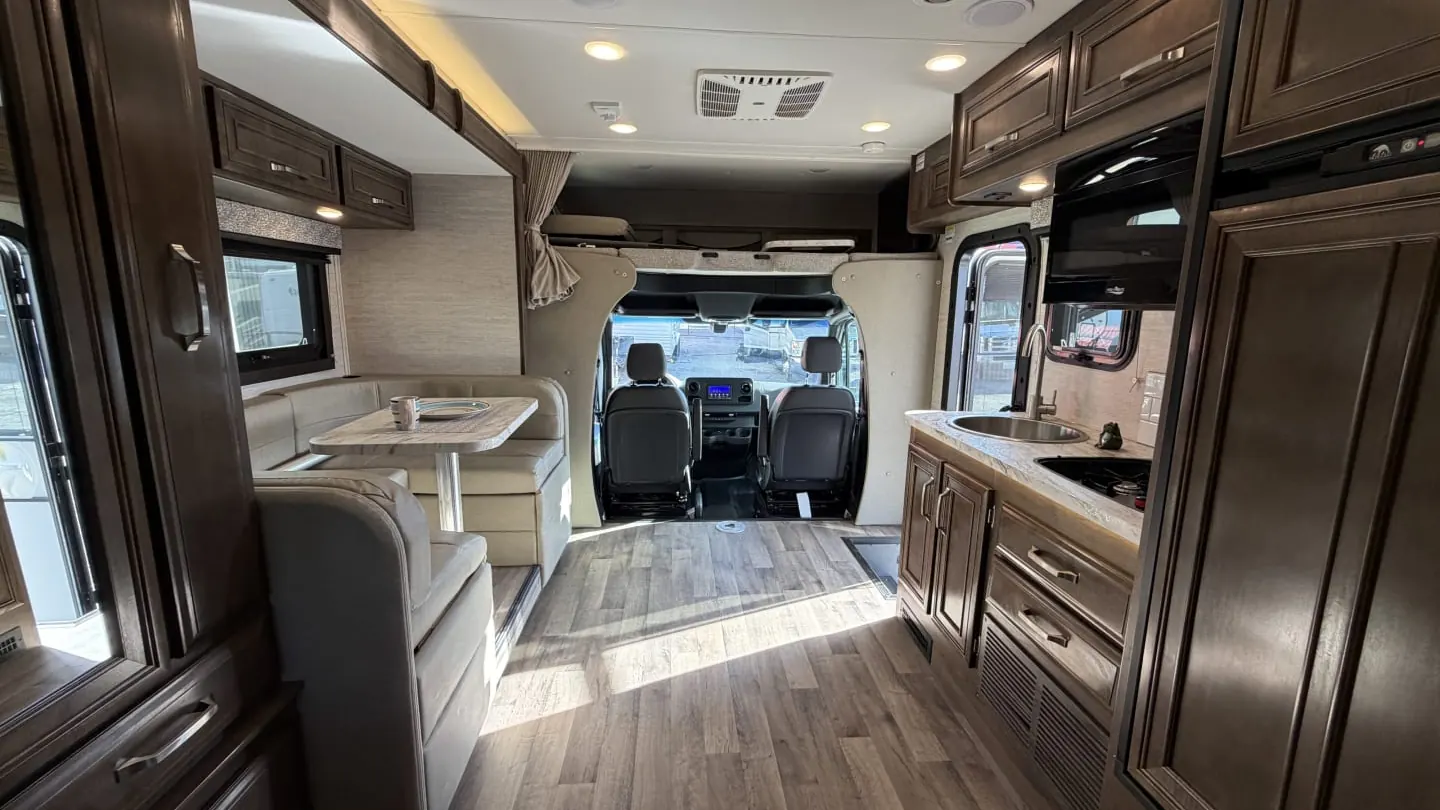
The phone rings at 2:10 a.m. A renter forty miles away says the fridge is warm, the lights are dim and the kids are cold. You ask a few questions. They are dry camping, the generator is off, the battery is drained, and the propane is closed at the tank because nobody showed them how to open it. Everything on the unit works. The orientation did not.
Most mid-trip calls come down to four things. Those are power, water, tanks and propane. A good orientation covers them hands-on, in an order that sticks, in about thirty minutes. This guide gives you a minute-by-minute script. Adapt it to your fleet and hand it to a crew member once you stop doing every pickup yourself.
Before the renter arrives
A smooth orientation starts the day before. If the unit is not ready, you spend the first ten minutes apologizing and the renter spends the next hour worried.
- Unit fully turned over and systems tested: tanks empty, fresh water at your standard level, propane full, generator started, slides cycled. Your turnover checklist should end with a systems test, not just a clean interior.
- Agreement signed before pickup so the counter time goes to the RV, not paperwork. See what belongs in an RV rental agreement.
- A pre-arrival message with the pickup time window, what to bring, how long pickup takes, and a link to a short video or written guide for that unit. Renters who have skimmed it ask better questions.
- Printed or laminated quick-reference card in the unit (more on that below).
Also space out pickups so the orientation is not rushed. Book three pickups at the same time and all three renters get a ten-minute version. Then you get three calls that night. The booking calendar guide covers setting pickup windows.
The 30-minute orientation, minute by minute
The order matters. Start outside with the things that go wrong first, finish inside, and end with how to reach you. The renter should touch every control. Watching you flip a switch does not carry over to their hands at 9 p.m. in the dark.
| Minutes | Section | Renter does it themselves |
|---|---|---|
| 0 to 3 | Walk-around and photos | Walks the unit with you, sees the photos being taken |
| 3 to 9 | Power: shore, generator, batteries | Plugs in, starts and stops the generator |
| 9 to 14 | Water: fresh, pump, water heater | Turns on pump, lights water heater |
| 14 to 19 | Tanks and dumping | Opens and closes valves in the right order |
| 19 to 22 | Propane, fridge, furnace | Opens tank, switches fridge mode |
| 22 to 26 | Slides, awning, leveling | Runs a slide out and in, opens awning |
| 26 to 30 | Driving or towing, and who to call | Saves your number, asks final questions |
Minutes 0 to 3: the walk-around
Do the pickup walk-around together. Take timestamped photos of every side, the roof edges, tires, awning and interior. Point out existing marks so they are on record, which protects the renter as much as you. If you have not standardized this, the pickup and return photo checklist gives you a shot list. Clear photos here are what make damage claims fair and quick at return.
Minutes 3 to 9: power
This section prevents the most calls, so do not rush it. Explain the difference in plain terms. When you are plugged in at a campground, everything works. When you are not, the batteries run the lights, water pump and furnace fan. The generator or shore power runs the air conditioner and microwave.
- Show the shore power cord, the adapter if you include one, and how to plug in with the pedestal breaker off first.
- Have the renter start the generator, let it run, and shut it down. Tell them about campground quiet hours and the fuel level where the generator stops. On many motorhomes it shuts off before the fuel tank is empty, which confuses people.
- Show the battery disconnect switch and the battery monitor. Explain that running the furnace all night on batteries without charging can drain them.
- Show the breaker panel and which breaker is the air conditioner. A tripped breaker is a classic late-night call.
Minutes 9 to 14: water
Show the fresh tank fill, the city water connection and the water pump switch. Explain when to use the pump (tank water) and when not to (city water). Have the renter turn on the water heater, however that unit does it, and tell them it takes a while to heat. If the unit has a bypass valve, make sure it is set right and tell the renter not to touch it. A small label on anything they should leave alone saves a lot of trouble.
Minutes 14 to 19: tanks and dumping
Renters dread this part, so keep it matter-of-fact. Put on gloves, connect the sewer hose, and walk through the order. Black tank goes first, then gray to rinse the hose. Have the renter open and close each valve. Show how to read the tank monitors, and warn them the black tank reading is often wrong. Tell them where the nearest dump stations are on common routes. Then explain your return policy on tank levels, which should match your agreement and any fee on your pricing sheet.
Tip: Hand the renter a spare pair of disposable gloves and a roll of RV-safe toilet paper during this section. It is cheap, it is memorable, and it quietly tells them which paper to use.
Minutes 19 to 22: propane, fridge and furnace
Have the renter open and close the propane tank valve. Show the fridge mode switch and explain that it needs time to cool. On propane mode, it may need to be turned off at fuel stops, based on your guidance and local rules. Show the furnace thermostat and the carbon monoxide and propane detectors. Then tell them what to do if an alarm sounds. Get everyone out, shut off propane and call you. Keep the safety point short and clear.
Minutes 22 to 26: slides, awning and leveling
Slides and awnings are among the most common sources of expensive damage in rental units. Have the renter run a slide out and back in. Show them what to check first, which is that nothing is in the way inside or out. Open and close the awning together and state your rule plainly. The awning comes in whenever you leave the site or the wind picks up. Show the leveling blocks or jacks, and which way is safe to use them on that unit.
Minutes 26 to 30: driving, towing and who to call
For motorhomes, cover height clearance (put the number on a sticker by the driver) and tail swing on turns. Also cover fuel type for the generator and the engine if they differ. For towables, the hitch walkthrough takes longer and deserves its own checklist. It covers the coupler, safety chains, breakaway cable, brake controller and lights, with the renter doing each step. Then comes the last step and the most important one. Have the renter save your business number in their phone right now, and tell them exactly when to text and when to call. A clear roadside and breakdown process belongs here too. The mid-trip breakdown playbook covers what you should tell them.
The quick-reference card
People forget much of any orientation within a day. A single laminated card in the unit, clipped by the door, gets them through most problems without calling you. Keep it to one side of one page per unit.
- Your number and when to call versus text.
- Photos of the generator start switch, water pump switch, water heater switch and breaker panel, labeled.
- The dump order: black, then gray.
- Height of the unit.
- Three most common problems and their first fix. "No power to outlets? Check the breaker panel under the bed." "No hot water? Check the water heater switch and propane valve." "Slide will not move? Engine running and parking brake set."
Common orientation mistakes
- Doing it all inside. The problems happen at the utility bay. Start there.
- Talking too much about features. The renter does not need to know the brand of the inverter. They need to know which switch to flip.
- Skipping it for "experienced" renters. Every unit is different. Do a shorter version, but do it.
- No written sign-off. Many operators have renters initial a checklist of what was covered. Ask your attorney how to handle that alongside your agreement, because the rules vary by state.
- Different crew, different orientation. Write the script down so every pickup is the same.
Measure it by what calls you get
Keep a simple log of mid-trip calls and texts. Note which unit, what the problem was, and whether it was a real failure or something the renter did not know. After a season, the pattern is plain. If most calls are about the water heater on one unit, fix the orientation, the card or the switch label for that unit. If they are real failures, look at your preventive maintenance schedule. Fewer calls also keep your line free for new bookings. What missed calls cost shows why that matters in peak season.
If you run your fleet on RV Shop Desk, the rental software keeps the signed agreement, the walk-around photos and the booking in one record. The person doing the orientation has everything in front of them at pickup.
A calmer trip, a better review
When the renter works every control themselves, the trip goes calmer, the late-night calls drop, and it shows up later in what they write about you. Tie it to a clean return and a prompt review request, as described in how to get a review after every RV trip. Back it with a consistent photo walk-around at both ends of every rental.
Questions owners ask
How long should an RV rental orientation take?
About 30 minutes for most renters, and a bit longer for first-timers or towables that need a hitching walkthrough. Go much longer and renters stop taking it in.
What should an RV renter orientation cover?
Power and generator, fresh water and water heater, dumping tanks, propane and the fridge, slides and awning, leveling, driving or towing basics, and exactly how to reach you if something goes wrong.
Should I give renters a video orientation instead of an in-person one?
A video sent before pickup is a good extra. Most operators still do a hands-on walkthrough at pickup where the renter runs each system themselves, because watching is not the same as doing.
Do renters need to sign anything after the orientation?
Many operators have renters initial a checklist of what was covered. Ask your attorney whether and how to include that sign-off in your rental agreement, because the rules vary by state.
- What Belongs in an RV Rental Agreement
- Security Deposits and Damage Claims Without the Fights
- The Pickup and Return Walk-Around: A Photo Checklist
- Turning Over an RV Between Renters: Cleaning and Systems Checklist
- When a Rental RV Breaks Down Mid-Trip: A Playbook
- Running the Booking Calendar: Buffers, Minimum Nights and Holds